Topics Map > Kaltura
Kaltura Admin Tool - Uploading on Behalf of an User
Instructional designers, instructional technologists, and media specialists are often asked by other users to upload, manage, or embed videos for them. The Digital Learning Environment (DLE) has deployed a custom "Kaltura Admin Tool" to allow designated campus staff to manage video media on behalf of other users without accessing the Kaltura Management Console (KMC). This article will describe how to use the Kaltura Admin Tool to upload videos to the account of another user.
Other features available in the Kaltura Admin Tool include:
- Adding Co-Publishers, Co-Editors, or Changing Owners
- Downloading Source Video and Exporting Metadata
- Getting Shortened URLs
Access to the Kaltura Admin Tool is limited to authorized users, and is controlled through enrollment in a special "Kaltura Tool" course in Canvas. Campus Kaltura Administrators will determine who on their campus should have access to the Kaltura Admin Tool. A campus Kaltura Administrator can request that access be given to another user by submitting a ticket to the UW System Administration DLE Team at dlesupport@support.wisconsin.edu (note: new email address as of 11/08/22).
Accessing the Kaltura Admin Tool
1) Users who have been given access to the Kaltura Admin Tool will be notified of their enrollment into a course titled "Kaltura Tool." The notification will come via an email from Canvas with the subject "Course Invitation" and a notification at the top of each Canvas page. Click Get Started in the email notification or Accept Invitation in the popup at the top of the Canvas screen.
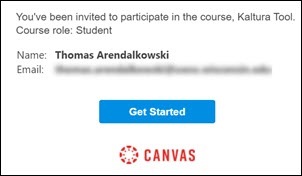
Users will then see the "Kaltura Tool" course in their Canvas Courses page and their Canvas Dashboard (depending on Dashboard settings).
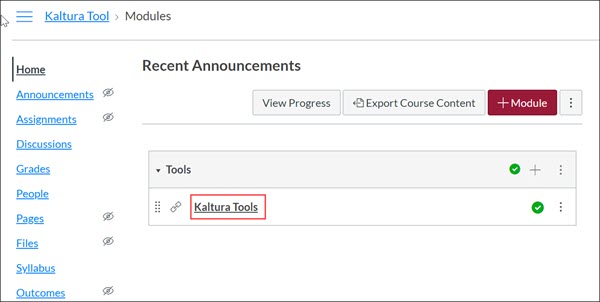
2) In the Kaltura Tool course, click on the Kaltura Tools page to open the Kaltura Admin Tool.
Searching for a User
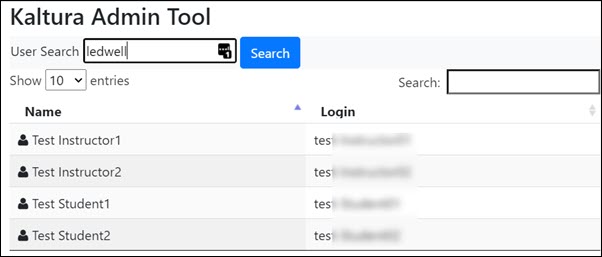
3) At the Kaltura Admin Tool page, search for a user by typing their name, email address, or Canvas User ID into the User Search box and clicking Search.

4) Possible users who match the search are displayed below the User Search box.
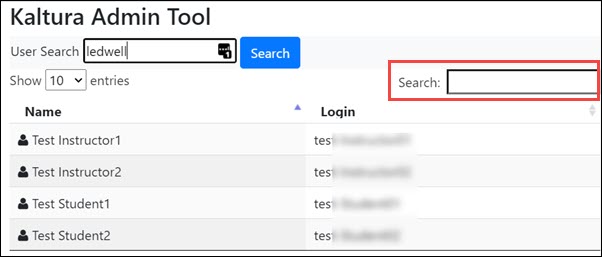
5) If needed, use the additional Search box below to further refine your search.
6) On the list of results, select a user account.
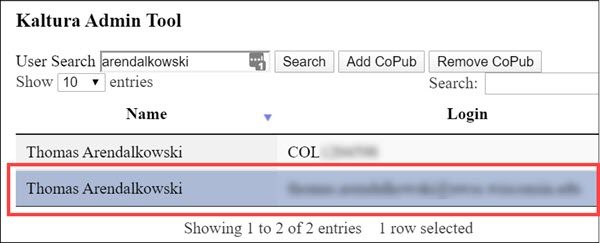
7) This will display a list of all of the Kaltura videos owned by that user account and give the following information for each:
- clickable video preview
- EntryID
- video title
- description
- creation date
- tags
- co-publishers
- co-editors
- download link

This will allow you to determine if a particular video is associated with a user's account and verify that it uploaded correctly.
Uploading Videos on a User's Behalf
8) To upload a video into another user's account, click the Upload on Behalf button above the list of entries.

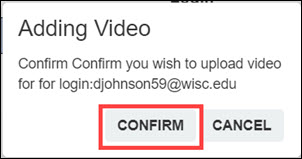
9) On the "Adding Video" popup dialog box, click Confirm.
10) On the Upload Media page, click on Choose a file to upload, then browse your computer to select a video file.

Kaltura can process most major video file types and formats. Upload time will depend on bandwidth and file size.
11) Once your video has finished uploading, fill out the metadata for your video:
- Title
- Description
- Machine Captioning (for more information on what this is, see Kaltura - Adding and Editing Captions)
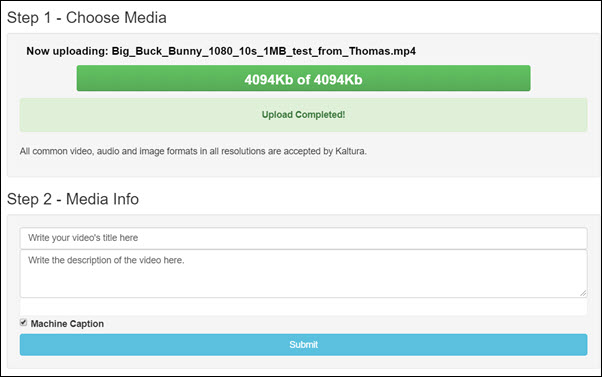
12) Click Submit.
13) In the "Upload Complete" dialog, click Yes to upload another video to the same user's account or No to finish.

14) When you're done uploading new videos to the user's account, you'll be taken back to the main Kaltura Admin Tools screen (see Step 3, above). From there, you can follow steps 3-7, above to verify that the uploaded videos have reached the user's account. Note: videos may take some time to process and transcode before you can see them on the media list.

