UDOIT - CidiScape Reports
The following will provide instructions for viewing the reports available in Cidiscape. These reports can be very customizable. For instructions on finding a more standardized set of reports please see UDOIT - UDOIT Admin Reports
Additional details and instructions for using the Cidiscape platform are available via the Cidiscape User Guide.
Note: Creating a Batch (collection of courses) is a prerequisite to running a report.
There are two ways to run "reports" in Cidiscape.
- Reports Tab - produces standardized reports
- Courses Tab - produces a highly customizable spreadsheet that can be exported for additional analysis.
Reports Tab
- Login to Canvas.
- Access your main instructional sub account by clicking Admin > [Campus] Instructional SIS Courses
- Click Cidiscape on the global navigation.
- Click the Reports button located towards the top of the page.
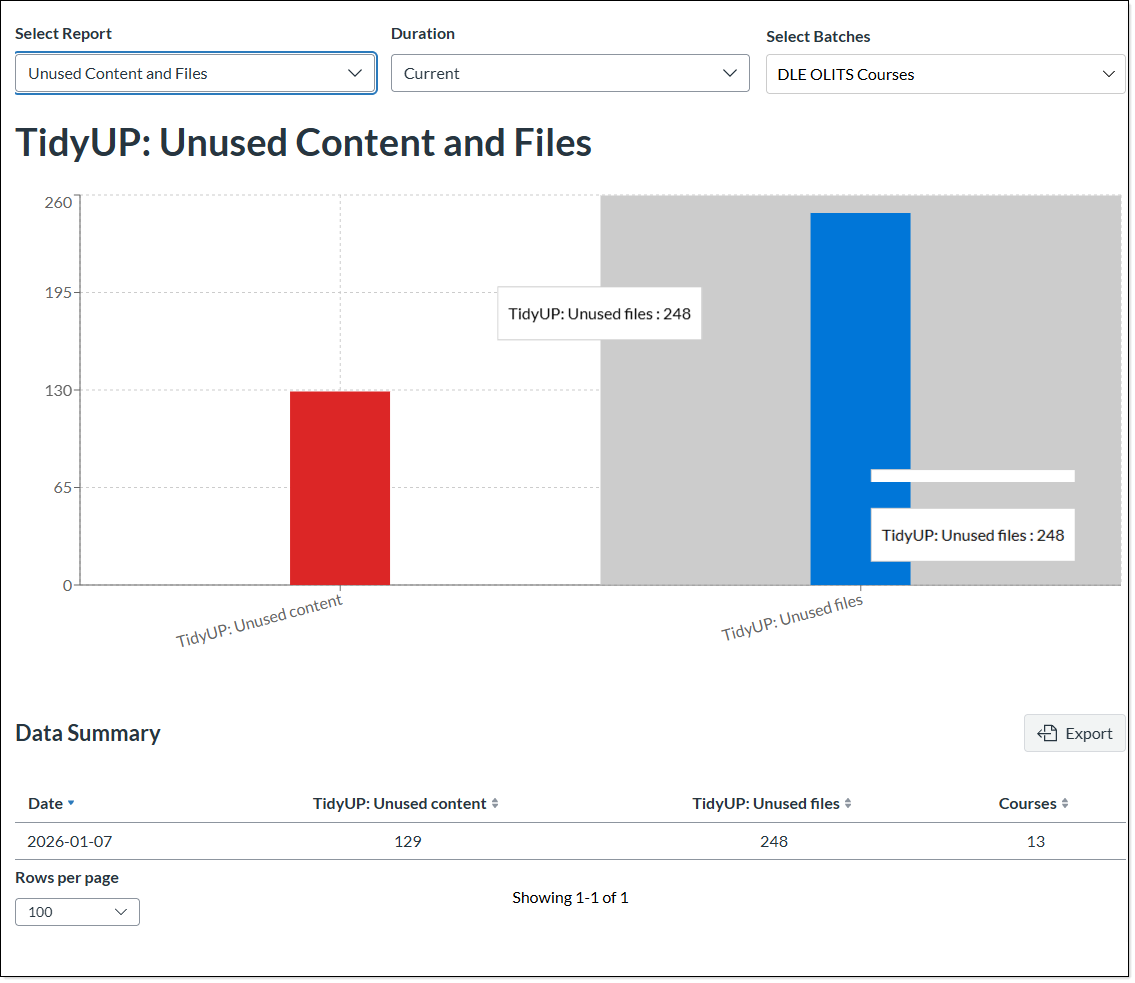
- Use the dropdowns provided to select the Report Type, Duration and Batches.
Note: Batches do not need to be limited to a single batch, multiple batches can be selected. - As soon as items have been selected, a report will be generated.
Courses Tab
The courses tab allows for many actions to be taken on Canvas courses, including scanning courses and syncing statistics from Canvas to Cidiscape. It utilizes a spreadsheet view of courses which provides a wide variety of fields to be added or removed. The spreadsheet can then be exported for further analysis. For a complete explanation of what is possible, please see the Courses section of the Cidiscape Users Guide.
- Login to Canvas.
- Access your main instructional sub account by clicking Admin > [Campus] Instructional SIS Courses
- Click Cidiscape on the global navigation.
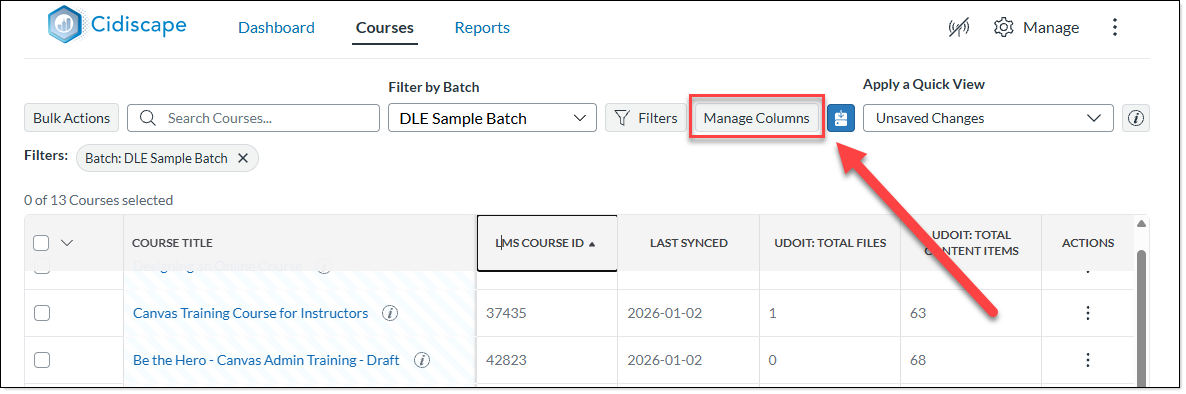
- Click the Courses button located towards the top of the page.
- Use the dropdown to select the batch(es) to include in the spreadsheet.
NOTE: Multiple batches can be selected.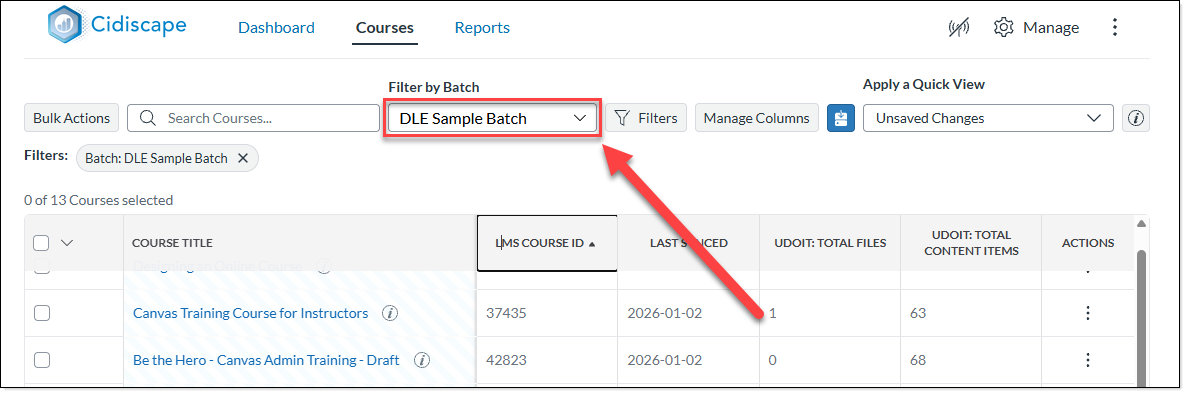
- Click the Manage Columns to modify the fields displayed in the spreadsheet.
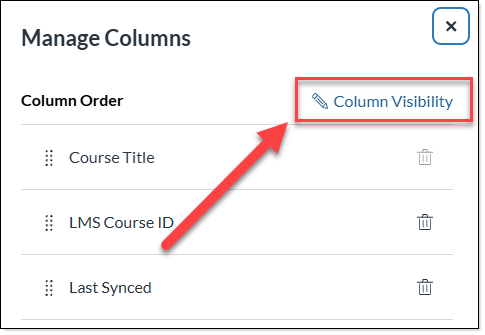
- A panel will slide out with a list of currently visible columns. Click the Column Visibility link in the upper right corner.
- Expand the arrows on the left side of the panel to display the various fields associated with Canvas, UDOIT or TidyUp. Click the checkboxes next to each field to be included in the spreadsheet.
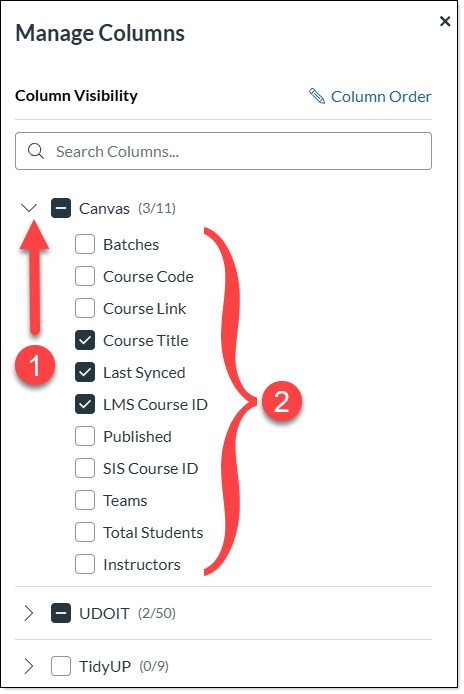
- Click Apply at the bottom of the selection panel.
Note: Column order can be modified by clicking the Manage Columns button and using the column handles to drag column fields to a different order. - Click the dropdown arrow next to the select all box on the spreadsheet. Then choose the option for Select all ##.
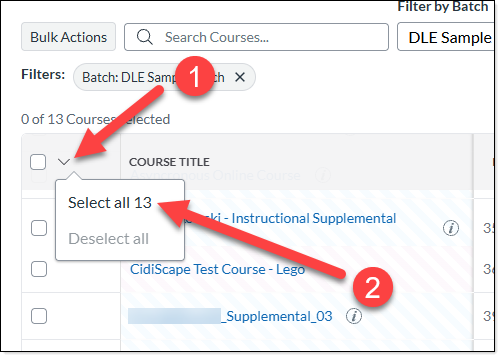
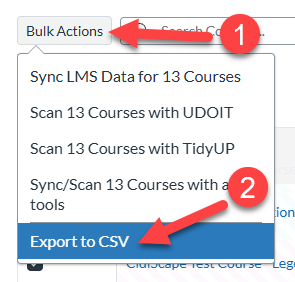
- Click the Bulk Actions button and select Export to CSV.
- A spreadsheet will download.