Topics Map > Documents Tab
KB User's Guide - Documents Tab - Find & Replace Text
Note
You must have full administrative permissions in your space to perform these steps. This means access to the Documents, Settings, and Users tabs.
The KB Find & Replace feature is a Full Text Find and Replace. This document explains to Groups Space Admins exactly how to find and replace text items, words or phrases in multiple KB documents.
Using Find & Replace
-
Under the Documents tab, click the Find & Replace link found in the left navigation bar.
- Note: You must have "Publish" rights to use this function; if you do not, the Find & Replace link will be grayed out.
-
In the Find field, enter the word or phrase you wish to find and replace. Please note that the search is case sensitive and applies to any instance of the specific string of letters, numbers, or characters. Please see the Best Practices section below for more tips on searching.
You may also check or uncheck the boxes for different fields. This is useful if you would like to search for text in just one or a few specific fields, for example, if you are looking for documents that contain a certain word in the body, but not necessarily the keywords.
-
Click the Find button to populate the list of documents.
-
If you are performing a "replace" function, enter the new word or phrase in the Replace with field. This is also case sensitive.
At this point, you can also modify the word in the Find field if needed, as well as adjust the field checkboxes.
-
Click Replace All to replace every instance of the text string in the "Find" input with the text string in the "Replace with" input. This will only occur for the listed documents, and will only update the fields you checked.
Best Practices
The Find & Replace is a very powerful and convenient tool. However, it is wise to proceed with MUCH caution to avoid unintended changes.
Case Sensitivity
Both the Find and Replace with fields are case-sensitive.
- For example, let's say your document contains "Desktop Support" and "desktop support". If you enter "Desktop Support" in the Find field and replace it with "DS Team", any instances of "desktop support" will remain unchanged.
Use Leading and Trailing Spaces
Both the Find and Replace with fields honor spaces placed before and after a word (also known as leading and trailing spaces). It may be necessary to add a leading and trailing space to the words in both fields to prevent unintended replacements. For example, let's say your document contains the word "string" and you want to replace with "sequence".
The image below shows the terms string and sequence without leading or trailing spaces. The Find & Replace function is looking for *exactly* those two values.
To be more specific:
-
Leading and trailing spaces prevent the unintentional replacement of words like hamstring, stringently, astringent into hamsequence, sequenceently, asequenceent.
-
Leading and trailing spaces prevent other unintentional replacements of words in an image names. An image named
The image below is deliberately showing a broken link of an image name that was unintentionally changed to sequence_data_types.string_data_types.jpg, would unintentionally be changed tosequence_data_types.jpg. The unintentional image name change would point to an incorrect image name and yield a broken link.
The image below shows the terms string and sequence with a leading space before and a trailing space after each term. The Find & Replace function is looking for *exactly* this value.
-
Leading and trailing spaces will direct the Find & Replace to ignore words like hamstring, stringently, astringent.
-
Leading and trailing spaces will also prevent other unintentional replacements of words in image names. The word "string" in the image named
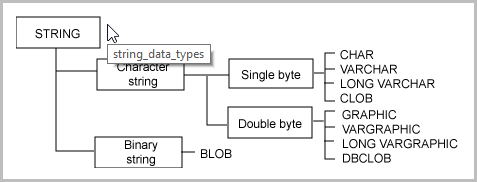
The image below show the string_data_types.jpg image that was not touched by the Find & Replace performed on a set of documents.string_data_types.jpg, would be ignored, leaving the image intact.
Run the Find function Independently from the Replace
To minimize the chance of making unplanned changes in all of your documents, you can use the Find function to filter documents down to a very specific subset. Then use the Replace function just on that subset of documents.
Let's say I wanted to replace the word "matrix" with the word "tree" in reference to a Topics tree. While it is tempting to do a broad search in all fields of all my documents, I would risk making an unintentional replacement in a document(s) that has nothing to do with Topics.
The image below shows a broad Replace criteria as all the fields; Title, Keywords, Summary, Body, InternalNote, FeedbkTo and JavaScript/CSS are enabled.
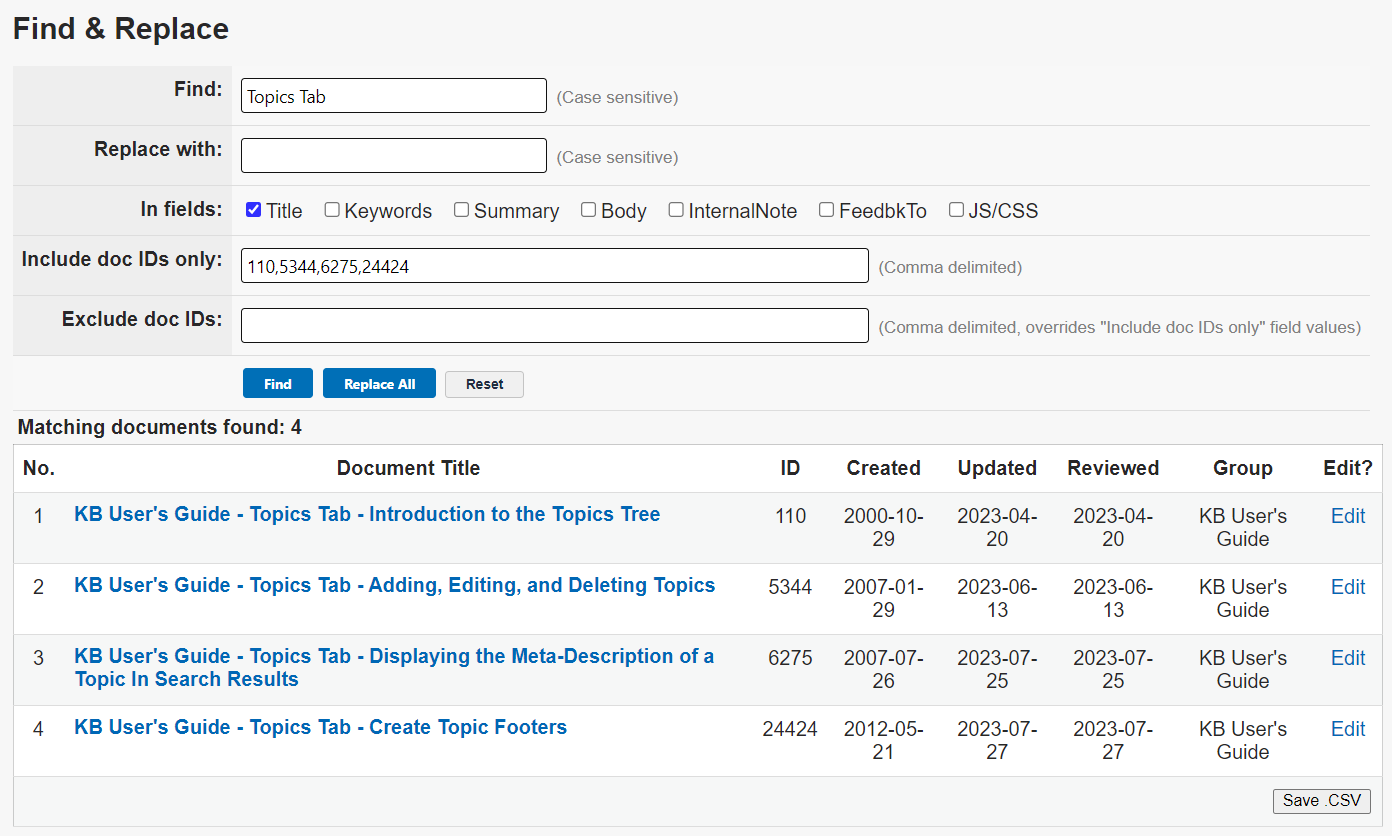
Instead, it is recommended that you isolate a subset of relevant documents and then use the Find & Replace on very specific fields. In the image below, I looked up all the documents with "Topics Tab" in the title. The search yielded five documents.
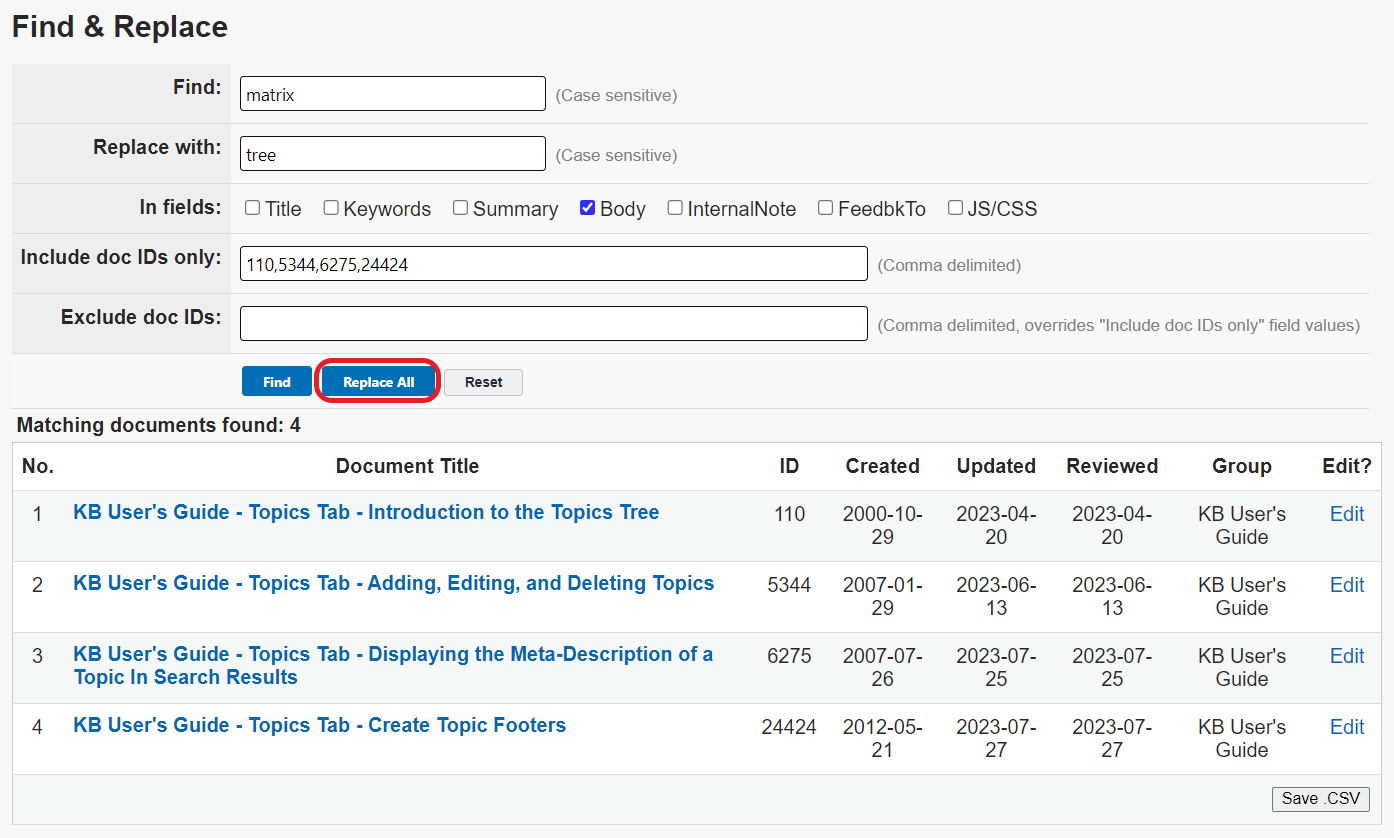
I now have a very specific subset in which to use the Find & Replace. From here, I will enter the word " matrix " with leading and trailing spaces in the Find field and the word " tree " with leading and trailing spaces in the Replace with field. Next, I will uncheck the Title check box and click on the Body checkbox. I can also add or remove document IDs. Finally, I can click on the Replace All button with confidence.


