Topics Map > Documents Tab
Topics Map > Topics Tab
KB User's Guide - Topics Tab - Audiences
Note
You must have full administrative permissions in your space to perform these steps. This means access to the Documents, Settings, and Users tabs.
- Adding and Editing Audiences
- Applying Audiences to Documents
- Displaying Audiences on Your Live KB Sites
Adding and Editing Audiences
-
In the KB Admin Tools, go to the Topics tab, then select the Audiences link on the left.
-
On this page, you will see eight pre-defined Audience types available for use:
- Faculty
- Staff
- Students
- Applicants
- Parents
- Alumni
- Visitors
- Community
You may use the settings to control the visibility of audiences as follows:
- The Order field allows you to manually control the order the audiences will be displayed in for the selected site(s) when displayed in the dropdown. Leaving this field empty will result in audiences being displayed in alphabetical order.
- The Internal or External checkboxes determine which site(s) the audience will be active on.
- The Dropdown checkbox controls whether the audience will appear in the "Audiences" dropdown search filter and/or the "Audiences" side module on the selected site(s). See below for more information on configuring these two options.
- The Enable checkbox can be checked for default audiences that you wish to use (note that these cannot be deleted).
-
You may also also use the Add a custom audience option at the top of the page to create custom audiences. These can be used to supplement or replace the default audiences provided. Enter a name in the Audience Name field and select the settings desired, then click the Update button to save your work.
You can delete a custom Audience by clicking on the Delete button. Doing so will remove any existing associations between documents and the deleted audience. A message will appear to confirm the deletion.
Applying Audiences to Documents
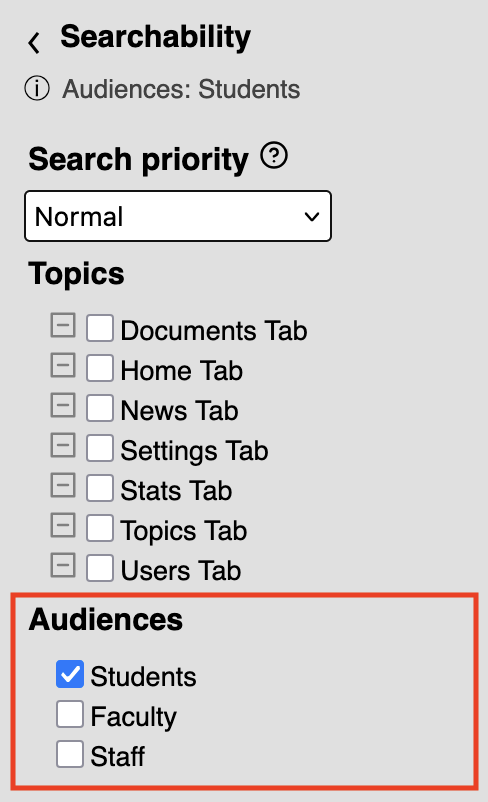
Document associations with audiences can be set via the document edit screen under the Searchability section in the right-side panel (below the Topics) setting.
- Note: If you have not yet enabled or added audiences via the Audiences page, the message, "Audiences can be added or created via the Topics tab." will appear in this section.
Once you have enabled and/or added audiences, they will appear in this section with checkboxes. You may check as many audiences for a document as desired.

Displaying Audiences on Your Live KB Sites
You can display your active audiences to your live site users in two ways—in a side module, or in a drop-down menu in the search area.
Audiences Side Module
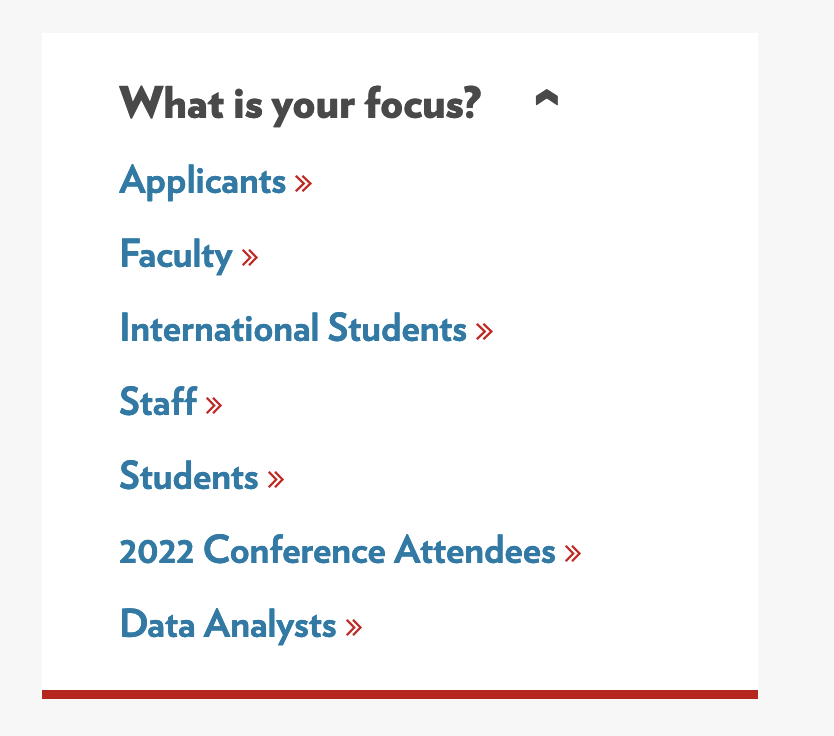
Below is an example of an Audiences side module that includes several of the pre-defined audience types alongside several custom audiences. Additionally, this side module has been renamed from "Audiences" to "What is your focus?" to help catch users' attention and indicate what the filters are for.

Clicking on a specific audience link will take you to a search page with the list of documents associated with that audience.
To set up the Audiences side module:
-
In the KB Admin Tools, go to the Settings tab > Side Modules link. You will find a side module labeled "Audiences" among the rows of existing side modules.
-
For the Module Name, you can keep the default name of "Audiences", or you can modify the module name as desired.
-
The Position drop-down menu cannot be changed; this module can only appear in the "Side Left" position.
-
Check the Internal and/or External checkboxes to make the side module visible on the selected sites.
-
Check the FullView and/or MobileView checkboxes to control whether the side module is available on both the desktop version and mobile version of your site(s).
-
Check the LandingPage box to have the module appear on your KB's homepage (recommended).
-
Check the DocPage box to have the module appear on all other pages of your site, e.g., search and document pages.
-
Enter a number in the Order field to control the order in which your modules will appear on your KB Site. This order will specifically apply to the modules in the same "Side Left" position.
Audience Drop-Down Menu
Below is an example of the Audience dropdown menu displayed next to the search field. It defaults to "All Audiences" and when opened, displays the fixed and custom Audience Types in the desired order.

Like with the Audiences side module, selecting a specific audience from the menu will take you to a search page with the list of documents associated with that audience.
To display the Audiences drop-down menu:
-
Go to the Settings tab > Searching/Sorting link.
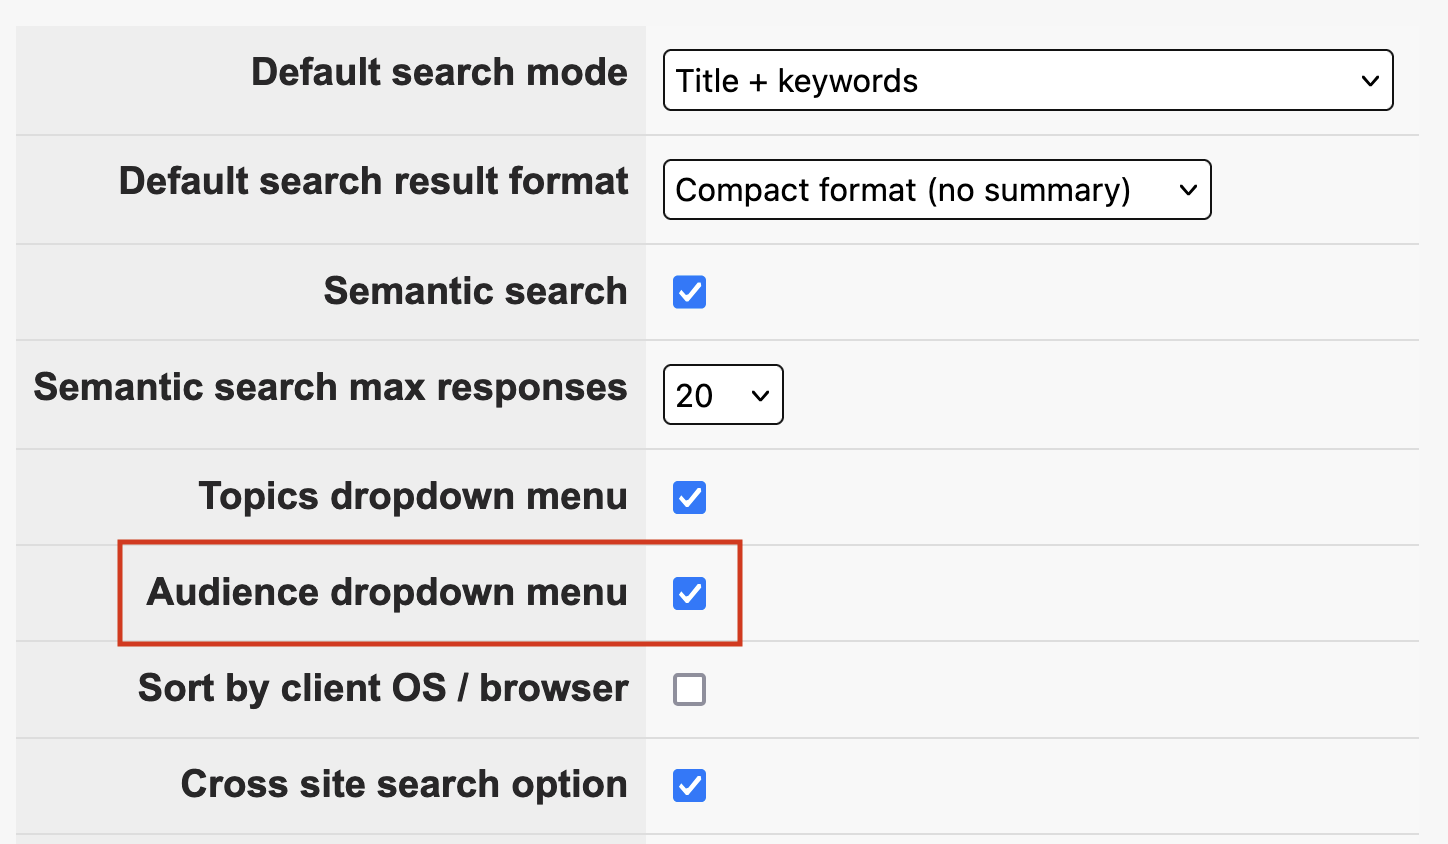
- Expand the panel for your internal and/or external site as desired, then find and check the Audience dropdown menu checkbox.

-
Click the Update button to save your changes.

