Mapping a Network Drive in Windows 11
Overview
The following instructions will show how to map a network drive on Windows 10.Process Considerations:
- If you are not connected to the internal office network you will need to first connect to the Virtual Private Network (VPN) before mapping a network drive.
- In order to access files on a previously mapped network drive when not connected to the internal office network you will need to first connect to the VPN.
Click on the links below to skip directly to a section:
Instructions
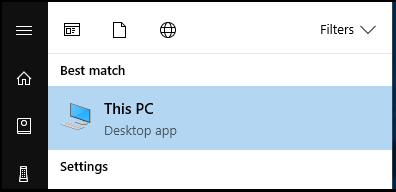
- Navigate to the "Start Menu" and search "This PC".
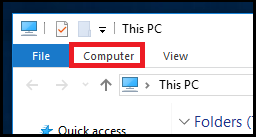
- In the "This PC" window, select the "Computer" tab from the menu ribbon.
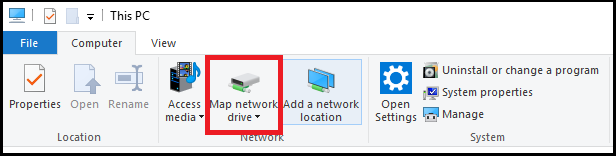
- Click "Map network drive" in the Computer menu panel.
- In the Map Network Drive window, select a drive letter from the drop-down menu. The letters are completely arbitrary–you can choose whichever letter is not currently occupied. In the folder textbox, enter the desired network path. Do not click “Browse…”
- Check "Reconnect at sign-in".
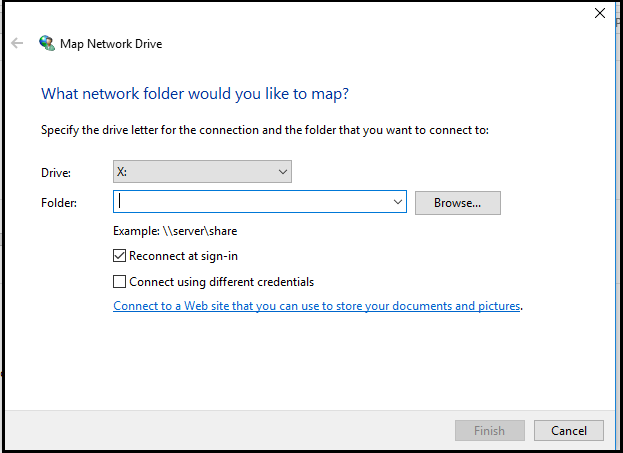
- Click Finish. You will need to repeat this process for each network path you want to map.
To the top
Additional Resources
Related KBs:
Get Help
- Click HERE to contact UW Shared Services or HERE for the IT Helpdesk if you have any issues with these instructions.