KB User's Guide - General Info - Embed a Google Calendar into a Document
Locate the iframe code for your Google Calendar
Follow the steps in Google's Add a Google Calendar to your website article to learn how to get the iframe embed code.
Embed Google Calendar Code into a KB Document
-
Create a new KB document and open the HTML Source Code editor.

-
Paste the iframe code into the HTML editor of the document.

-
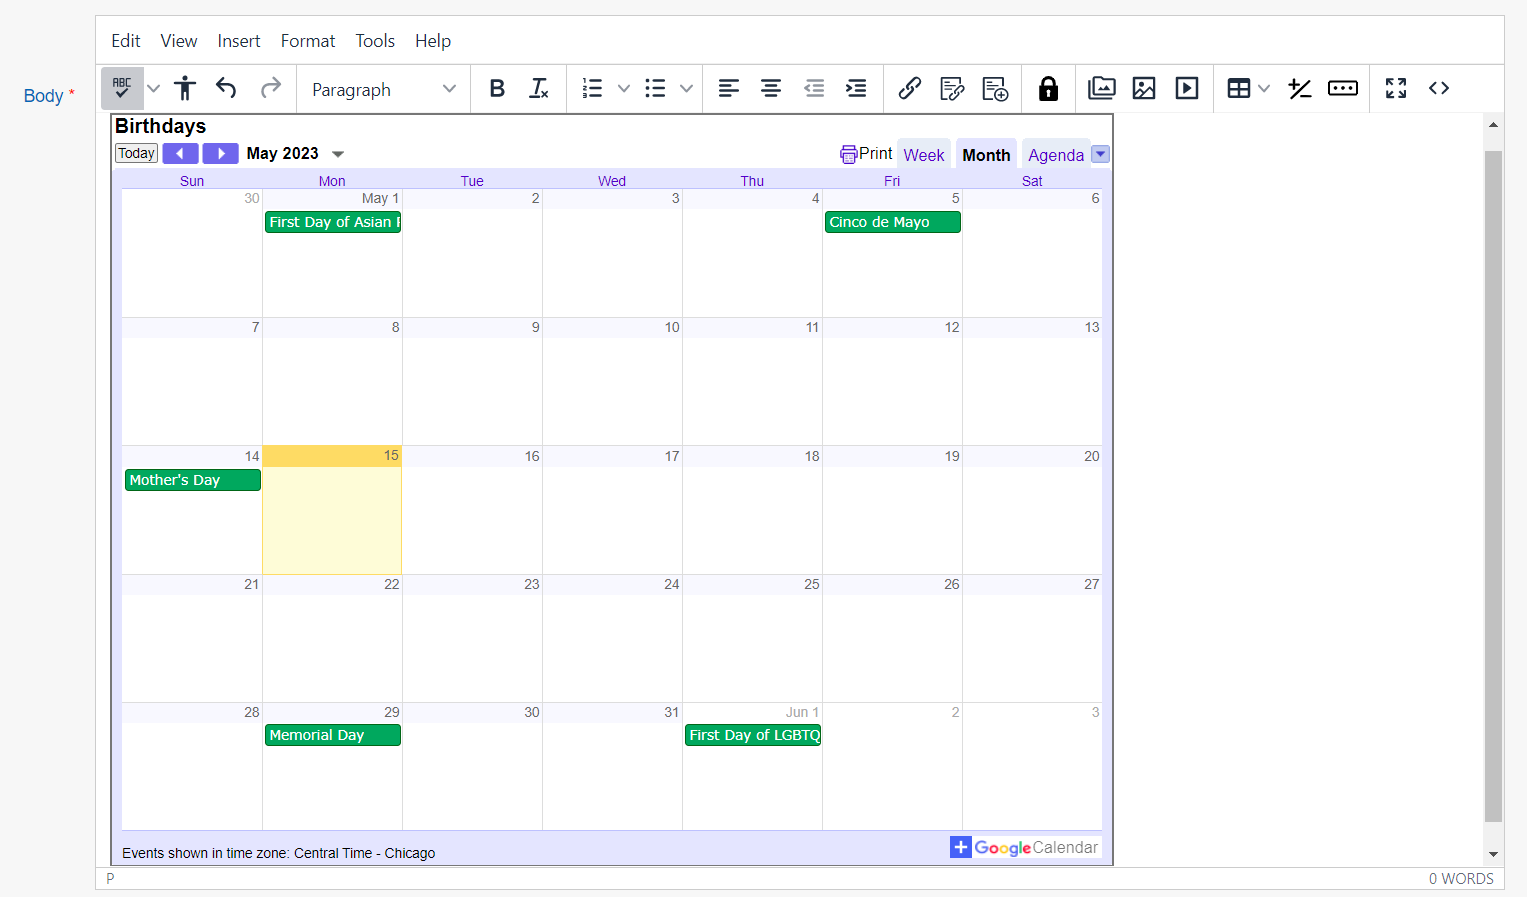
If done properly, the calendar embed will appear in the body after saving. You can also preview the page to confirm.
-
Fill in the other required fields; Title, Keywords and Summary.
-
To center the calendar on your page, click on the row that your calendar is in. Once your cursor appears at the bottom left of the calendar, click the center formatting button.
-
Click on the Submit button to save your changes.
Google Calendar as a Content Module
Please refer to this Custom Content Module document.
Here is an example of a Google Calendar as a Custom Content Module.