Attach a File from Microsoft Teams in Outlook
Files that are stored on a Microsoft Teams site can be attached to an email using two different methods. The first method attaches the file as a copy. The second method provides a direct link to the file. Note: Using a link can allow the recipient(s) to make changes to the shared file but you can edit permissions to prevent editing, if desired.
Method 1: Attaching a file as a copy
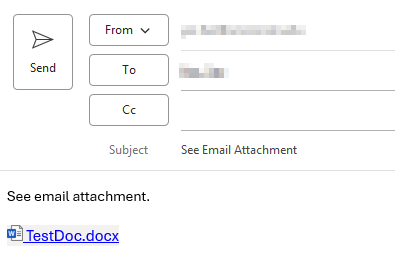
- Open a new message in Outlook.
- Go to Microsoft Teams and find your file.
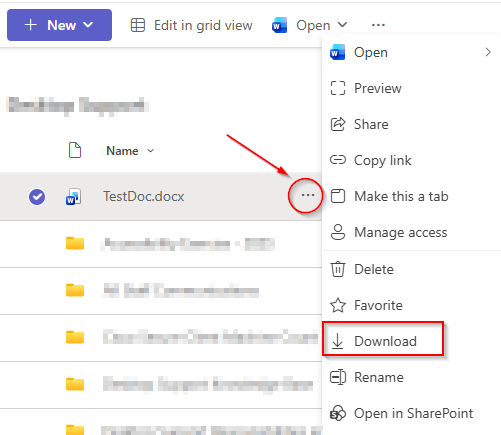
- Hover over your file and click on the 3 dots to open the menu. Click on Download to download a copy of your file.
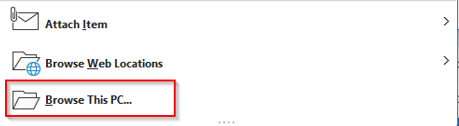
- In your new Outlook message, click on Attach File and select the Browse this PC… option.
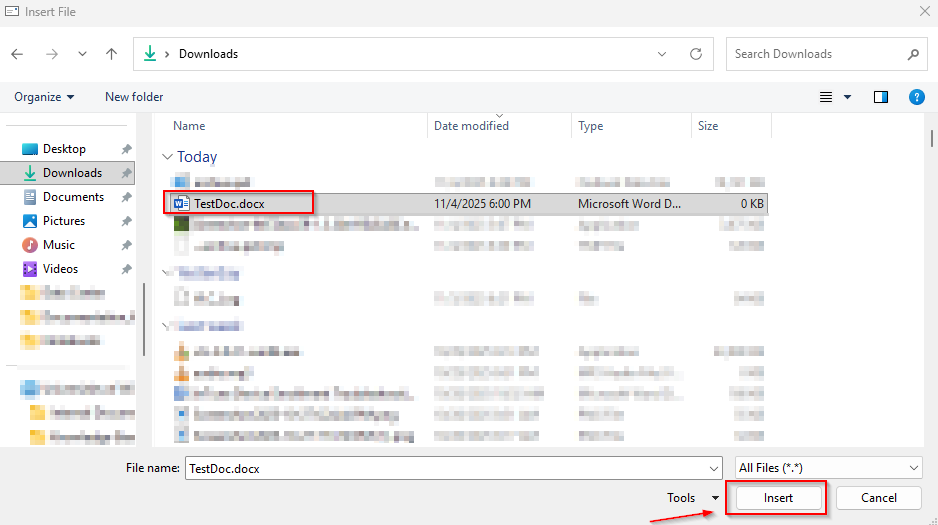
- Navigate to your Downloads folder and open it. Select your downloaded file from Teams and double-click the file or click on Insert to attach the file.
Method 2: Attaching a file as a link
- Go to Microsoft Teams and find your file.
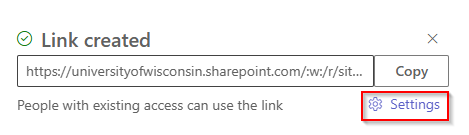
- Hover over your file and click on the 3 dots to open the menu. Select Copy link.

- Click on Settings to adjust permissions to the file.
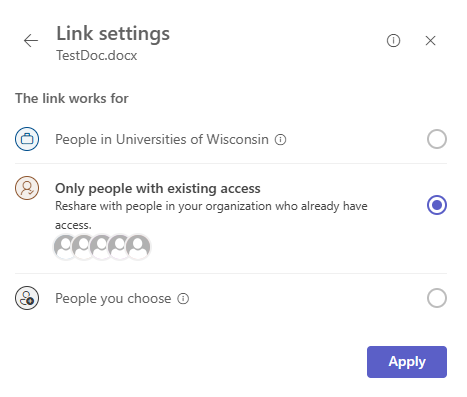
- If you are sharing the file with recipients within the Universities of Wisconsin, select the top option, People in Universities of Wisconsin. If you are sharing with external recipients, select the People you choose option. If you have a mix of both internal and external recipients, select People you choose option.
- Once you have chosen your group of users, you can adjust the file permission settings. Permissions can be set to:
- Can edit (make any changes),
- Can review (only suggest changes),
- Can view (can’t make changes)
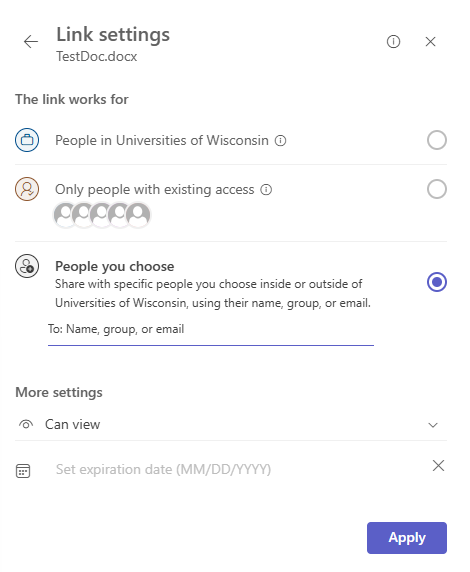
- Can’t download (can view but not download). You can also set an access expiration date on your shared file. Once the date passes, recipients can longer access the file.
Note: If you are sharing with internal users (People in Universities of Wisconsin), you do not have to enter the recipient’s username or email. Selecting “People you choose”, you will need to enter in all recipient’s name or email address. 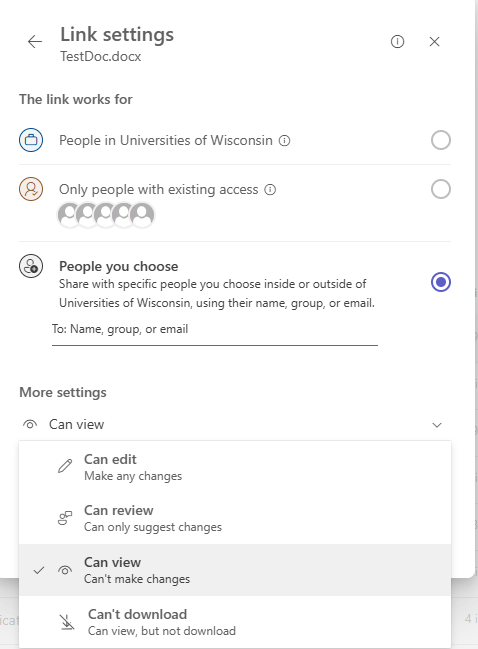
6. Once you have selected your recipient(s) and permission settings, click on Apply.
7. A link will be copied automatically, and you will be able to paste this link into your email body.